Create a new project
SMSGFX supports projects that target a number of retro systems, when you create the project, you choose the system to target.
To create a new project:
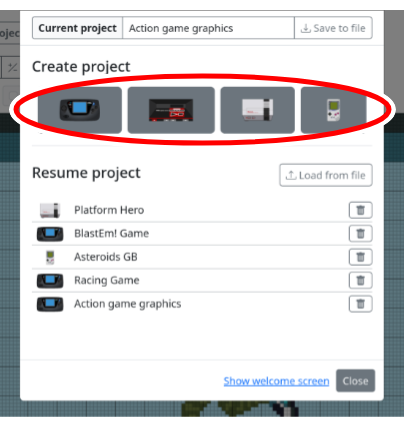
- Click the [Project] menu.

- Under the “Create project” heading click on the system that you would like to create the project for.
- The “Create a new project” dialogue appears, fields are explained below:
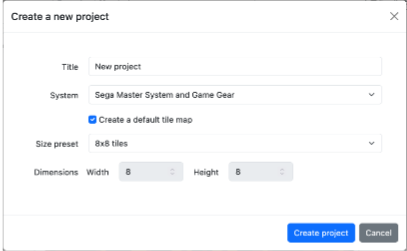
Title - Enter the name for your new project.
System - Select the target system.
Create a default tile map - When this is selected we’ll automatically create a tile map for you, normally you would want this option to be selected, however, if you intend to work with raw tiles and don’t need a tile map you can select this option.
Size preset - Choose a size for the tile map, or you may enter a custom size.
Width and Height - When using a custom size, you may customise the width and height.
When you’re done click the [Create project] button to create the project.
Optional tasks
Name your project
- Click in the [Project name] textbox on the project toolbar.

Modify the value in the textbox.
When you leave the textbox the project name will be automatically updated and saved.